Don’t we all wish we could spend more time outside, hiking, camping, and riding our bikes? If you’re planning a road trip to the great outdoors with your bike in tow, you’ll want your gear to get to your destination in one piece. Usually, you’d also want to make the most of the cargo space in your SUV. A bike rack would definitely come in handy so that your bike is stored outside rather than within the vehicle’s cabin.
Bike racks can come in different builds but you can generally choose among a trunk-mounted rack, a roof-mounted rack, or a hitch-mounted rack. Most modern bike rack models are designed to adapt to different vehicles. They come with adjustable components to both be mounted stably on your SUV and secure your bike during transportation. Take these factors into account when choosing a bike rack for your SUV.
In this post, we’ll go over how to install bike racks on SUVs. Here are three quick and easy guides depending on the rack you prefer.
Types of Bike Racks for SUVs
The most common types of bike racks for SUVs you can use are roof-mounted, trunk-mounted, and or hitch-mounted models.
Trunk-Mounted Bike Racks
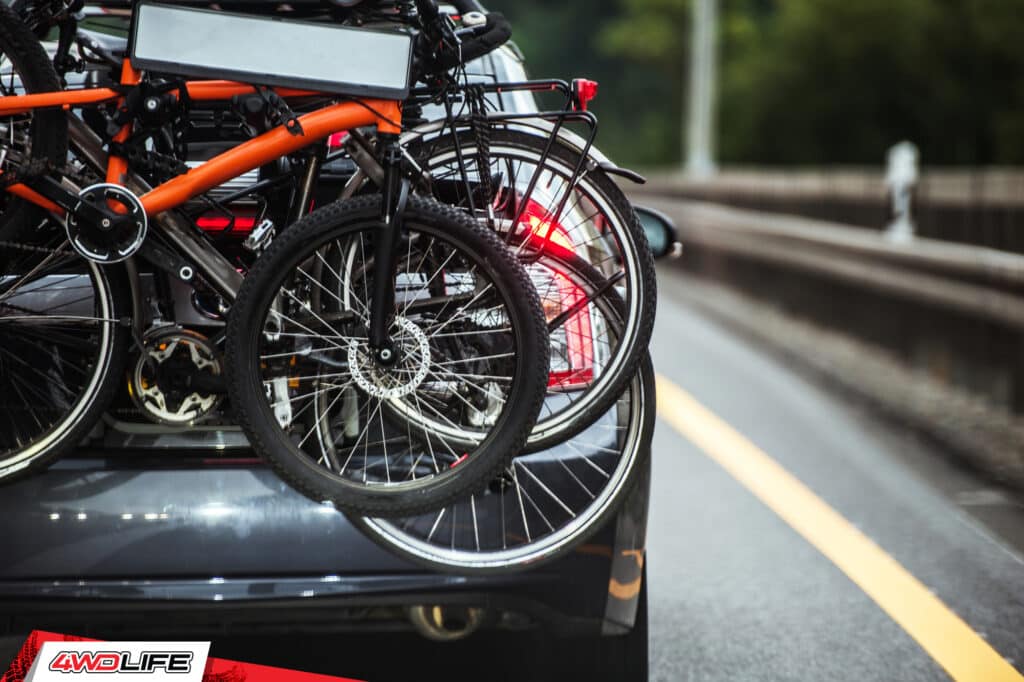
Trunk-mounted bike racks are attached to the SUV’s trunk. They use straps to secure the rack in place while arms and bars are used to “carry” the bike. Since these have to rest against the trunk of your SUV, they’re equipped with rubber-coated hooks or foam pads to protect your vehicle from scratches and dents. They’re usually the cheapest among the three and are best for short occasional trips.
Roof-Mounted Bike Racks
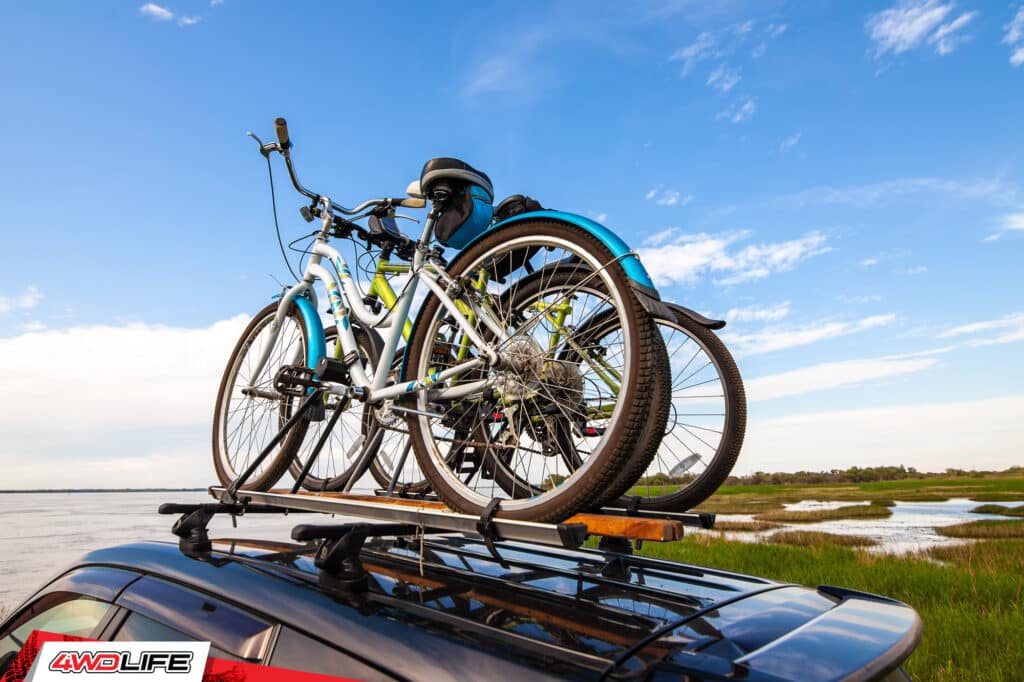
Roof racks may have “feet” or mounts that attach to the roof of your car and cross bars that attach to the vehicle’s roof railing. The carrier components are then mounted on these. Some roof-mounted bike racks need the front wheel of bikes to be removed when attaching them while others let you keep both wheels on the bike.
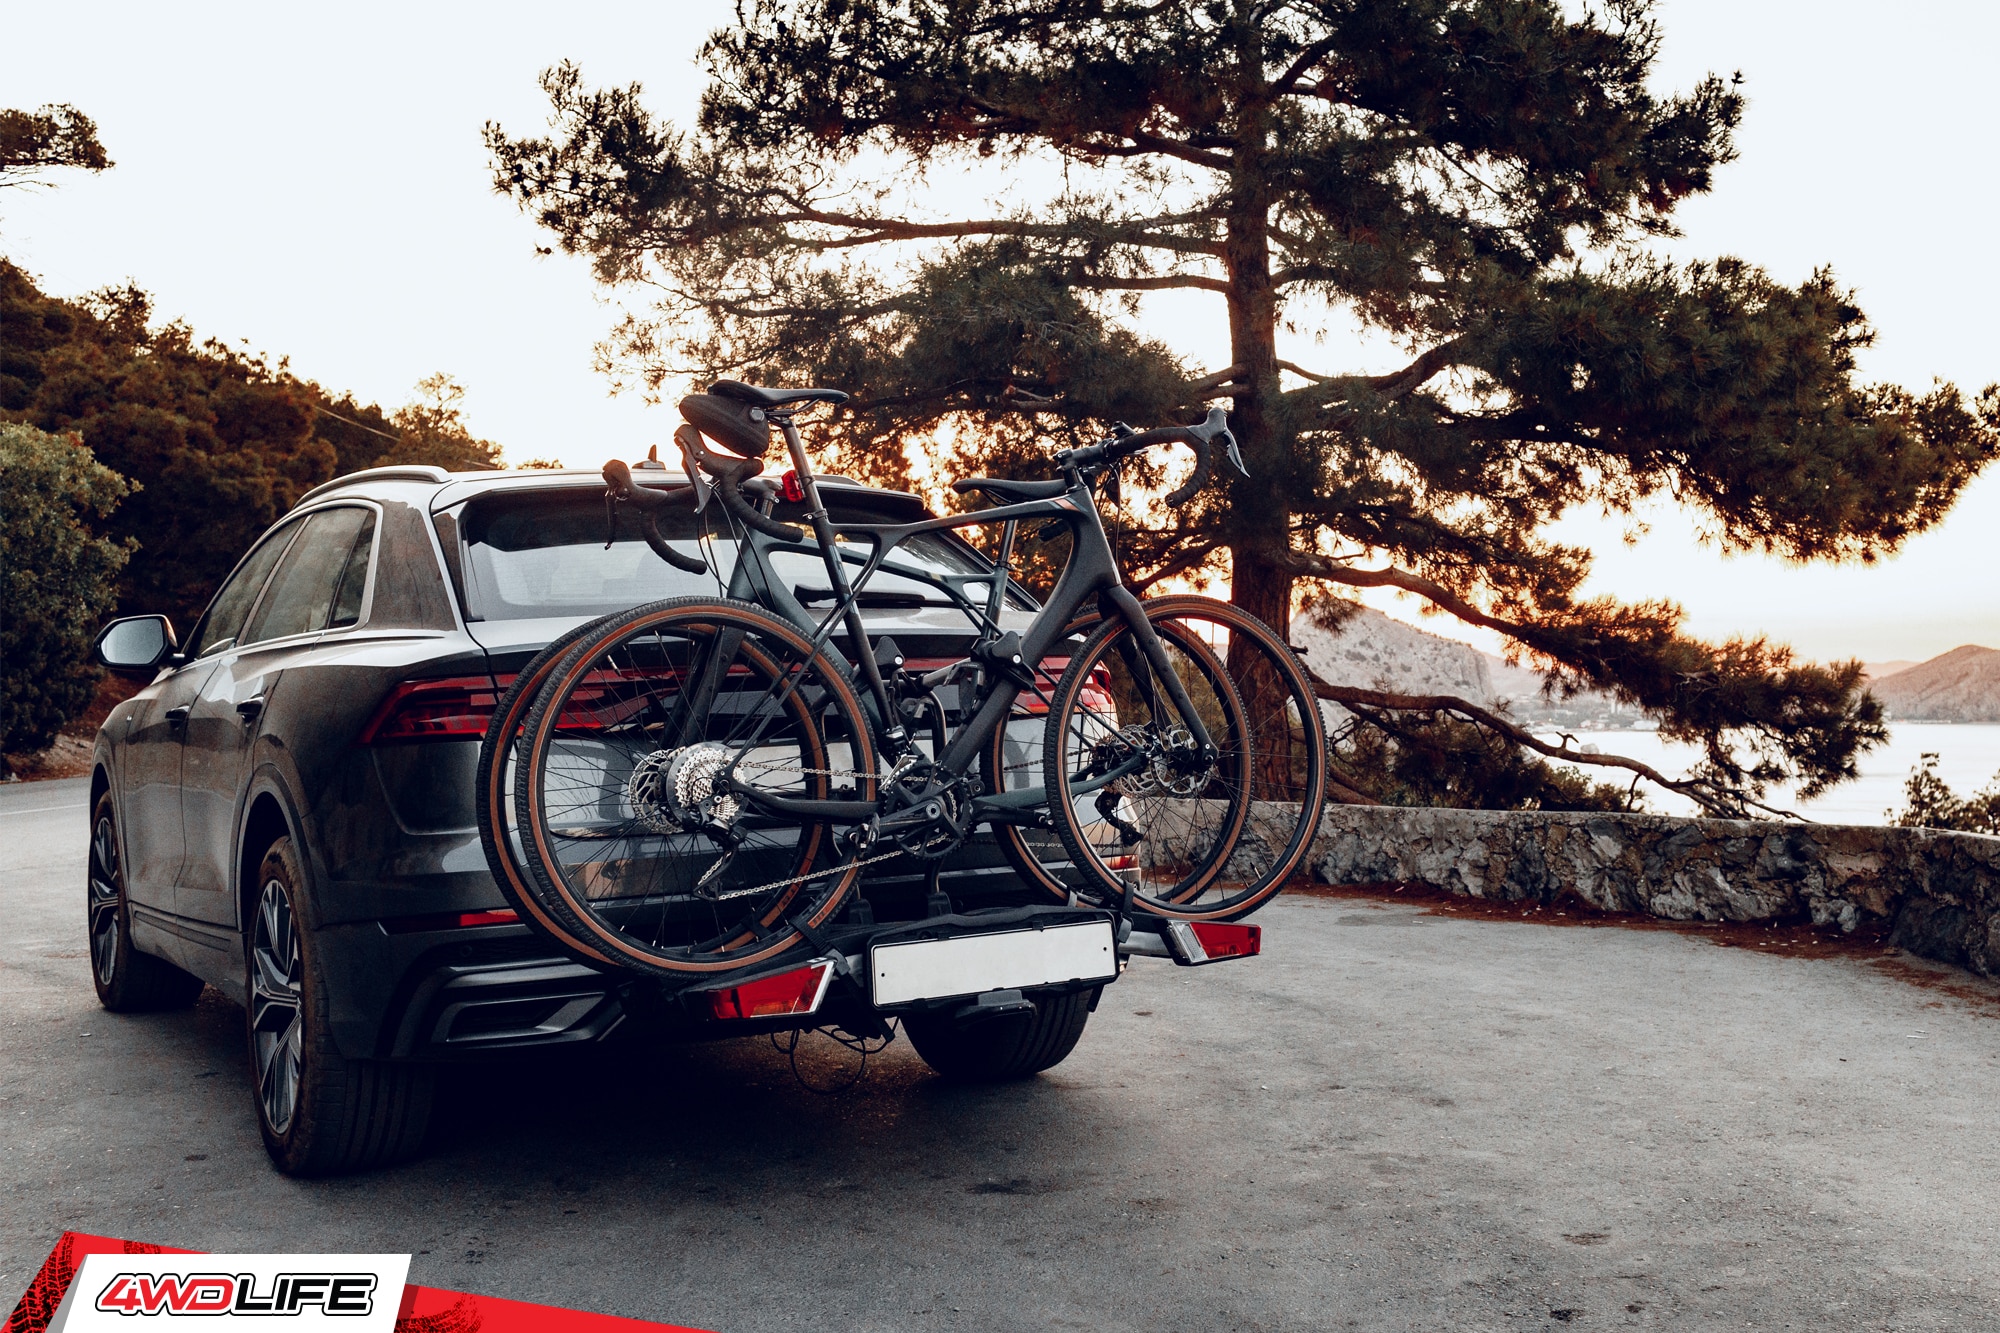
Hitch-Mounted Bike Racks
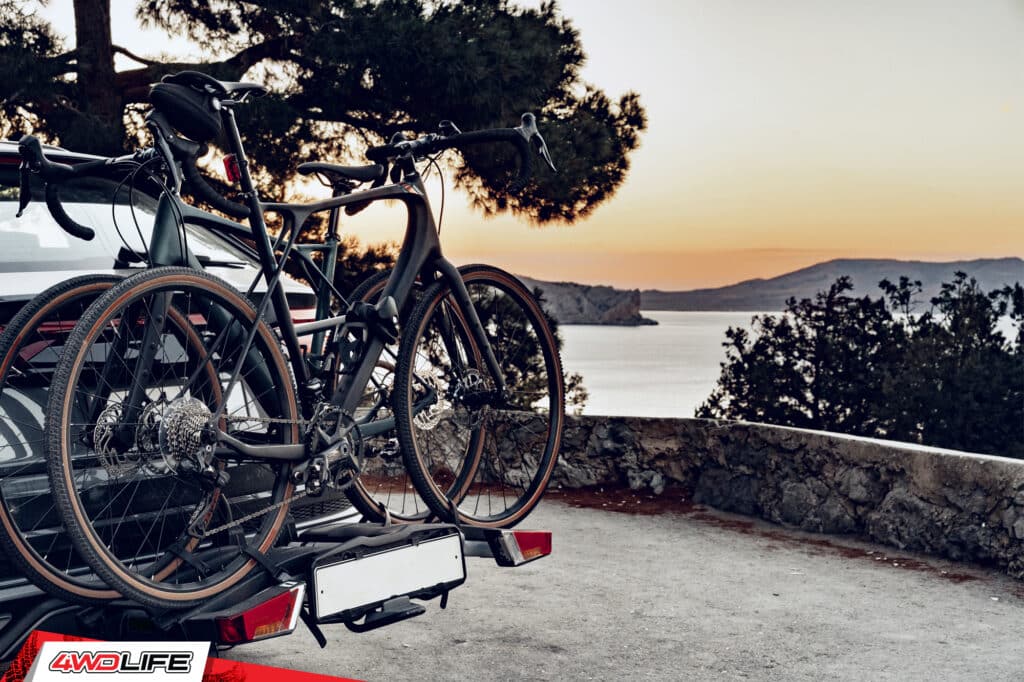
Hitch-mounted bike racks are attached to the SUV’s receiver hitch. They can typically carry several bikes. Due to their ease of use and their ability to carry multiple bikes, they are highly popular among families and parties who ride in groups. You typically don’t have to remove bike wheels to attach them to hitch-mounted racks.
How to Install a Trunk-Mounted Rack

The strap-on trunk bike rack is typically the most affordable type of bike rack. Straps (usually made of nylon) are used to secure the rack to the vehicle. The bike frame is held in place by the straps, hooks, and rack arms.
This type of bike rack can easily be removed and stored. In most cases, a trunk-mounted bike rack will come in a single piece and won’t require any complex assembly. Some models allow the rack frame to be folded to reduce its size.
Pros
- Most affordable
- Portable
- Bikes can be loaded easily
- Can be used on a variety of vehicles
Cons
- Obstructs the opening of hatch or trunk
- Less stable (possible for bikes to swing or move if not secured properly)
Parts and Materials
- Trunk-mounted bike rack
- A measuring tape – For measuring of vehicle and rack dimensions so you can choose the proper bike rack for your vehicle
Steps
Step 1: Consult the product guides and manuals to know about the ideal trunk bike rack for your SUV make and model. It’s also best to do the actual measurement yourself to confirm if the rack will fit your SUV prior to rack installation. Most rack manufacturers and their retailers can tell you if a particular rack model can be used for your SUV. Buy one that fits your actual vehicle.
Step 2: Open the trunk of your SUV. Remove or loosen the straps of your bike rack and loop them over the sides of your trunk door. Position the rack by gliding it over the trunk until the pads (that come with the rack) that come in contact with the automobile are centered.
Step 3: Some bike rack models have clasps or hooks designed to catch on the lip of your trunk door. Slide each clasp or hook to its proper position. Perform the necessary adjustments to the straps so that the rack is snug and secure.
Step 4: Test the trunk bike rack for proper installation. The trunk bike rack typically has two bars that extend upward from the trunk at an inclination of 15 to 45 degrees. Now, hoist your bicycle and position its top tube over the two bars on the trunk rack.
Step 5: Check for any play or wobbliness and adjust the bike or rack accordingly. Check if you need to secure the handlebars. Loose and swaying handlebars or wheels may hit and damage your SUV.
Note: Prevent attaching more than two bicycles to a trunk-mounted rack. The weight of a bike can put pressure on the trunk which can either break your rack or damage your trunk.
How to Install a Roof-Mounted Rack

If you prefer to have easy access to your trunk, a roof-mounted rack may be a better choice. These models are installed on the roof of your vehicle.
There are roof racks that allow you to lock both wheels when loading, while others need you to detach the front wheel. Models that need the front wheel to be removed often provide a more stable support for the bike since the bike frame is latched down more firmly. Most bikes come with quick-release mechanisms for wheels so removing your bike’s wheels shouldn’t be a major issue.
However, keep in mind that roof-mounted bike racks are more challenging to install and access. They will alter the minimum clearance for your vehicle to pass through.
Pros
- Frees up your trunk or hitch for other uses
- Doesn’t impede the opening of the trunk
- Rubber or foam coated feet can prevent damage to your car’s paint job
- Some models can accommodate other outdoor gear (e.g. snowboards, skis)
Cons
- Roof racks are usually pricey
- More complicated installation process
- Placing or retrieving a bike on or from a roof rack can be challenging
- May limit your access to certain structures (e.g. parking garages) with low vertical clearance
Tools and Materials
- Roof-mounted bike rack
- Wrench set – For tightening bolts
- A measuring tape – For measuring of vehicle and rack dimensions
- Ladder – To help you reach the roof of your SUV.
- Fender cover or mat – To cover your vehicle’s paint while installing
Steps
Step 1: Measure your SUV’s dimension to help you get the roof-mounted rack of the right size. Consider the vertical dimensions as well. Your SUV, rack, and bike’s height will determine the overall vertical clearance of your vehicle when traveling. You don’t want your bike to get snagged on low-lying branches, signs, or beams.
Note: If your SUV already has roof rails, you can choose a model that’s designed to be installed on them. It’s ideal to go for this option. Some roof-mounted bike racks are installed using straps that go around the roof of your vehicle through the car doors. Others use rubber feet or suction cups that attach directly on your roof. Read the user manual before attempting any rack installation. Choose one that best fits your SUV’s configuration.
Step 3: Assemble the cross bars. Most models have adjustable clamps or plates and these are best put on prior to attaching the cross bars or feet on the roof.
Step 4: Set your ladder next to your vehicle. Be careful not to hit your doors as you may scratch or damage your paint. Lay down your fender cover or mat over the side of your SUV to prevent scratches while installing the roof-mounted bike rack. Since the rack will cover parts of your roof, it’s ideal to clean both the roof and rack first so that no dirt will be trapped in between.
Step 5: Install your bike rack’s cross bars or feet on the roof or roof rails using the instructions in the user manual. Adjust the clamps according to your roof or rail’s dimensions. Tighten each component very gently. Overtightening may dent your roof rails or roof.
Step 6: Check if there is any assembly required for the actual rack before attaching it to the cross bar or feet. Consult the manual. Some models may be equipped with adjustable or slidable mounting plates and clamps that you may need to assemble first prior to attaching to the cross bar or feet.
Step 7: Install the rack assembly to the cross bar or feet using the proper bolts and fasteners.
How to Install a Hitch-Mounted Rack

Hitch-mounted bike racks utilize your SUV’s receiver hitch. Note, however, that not all SUVs have factory-installed receiver hitches as these can come as an option at the time of purchase.
You must have a 1.25-inch or 2-inch receiver hitch in order to use a hitch-mounted bike rack on your car. Class I and Class II hitches can only typically carry two bikes. You need a higher class hitch to carry more. Such bike racks are intended for Class III or Class IV 2-inch hitches. Consult your SUV’s manual for your towing hitch’s specifications.
You can also choose between platform hitch racks and hanging hitch racks. Hanging racks use straps (usually velcro) to hold the bikes in place. Platform racks use a tray to hold the bikes by the tires. The front tires or frames of the bikes are secured using hooked arms.
Like trunk-mounted bike racks, hitch-mounted racks are positioned at the back of your SUV. As such, having a bike on board can impede your access to the trunk especially on entry-level models.
Pros
- Installation is simple
- Simple process of bike loading
- Can handle heavier loads like 3 or more bikes
- Entrance to the rear door is possible in some versions
- Suitable for usage on a regular basis
Cons
- Not all vehicles have hitches
- Feature-rich models come with a price (like those that allow easy trunk access)
- Entrance to the trunk or back cargo compartment is impeded
- Bike sway is possible
Parts and Materials
- Hitch-mounted bike rack
- Wrench set – For tightening/loosening bolts
- Screwdriver – For tightening/loosening screws
- A measuring tape – For measuring of vehicle and rack dimensions
Steps
Step 1: Check your SUV’s manual to see its receiver hitch’s specifications to see if it’s possible to use it for bike racks. Most SUV hitches are designed for hauling and towing so they should be able to handle a bike rack.
Step 2: Read the hitch-mounted rack manual to see if it will fit. Go over the instructions and make sure you’ve understood them all. Most hitch-mounted racks require little complicated assembly or install since they just often slot into the tow hitch and be bolted in.
Step 3: Assembly the rack according to the manufacturer’s instructions. You may need wrenches to secure the bolts.
Step 4: Once assembled, install the rack to the receiver hitch. Use the rack’s tightening or locking mechanism to secure it into the receiver hitch. Some advanced models even feature locks and keys to access the rack’s tightening knob for the hitch.
Step 5: Some models may be adjusted for height. Adjust the rack according to your SUV and bike’s dimensions.
Note: Load the heaviest bikes closest to the vehicle. When loading two or more bikes, alternate their orientation. Always check if the bike is in contact with your SUV. Insert paddings to prevent dents and scratches.
Getting Ready for Some Outdoor Fun
Bike racks are necessary to securely and safely transport your bike using your SUV. Each bike rack type has its advantages and disadvantages so be sure to know about them before deciding which one you’ll use. There are plenty of manufacturers and models to choose from. Most models are also designed for easy installation and use. So, finding one that fits your needs should be quite easy.